2.
Getting Started
2.1 Installation
Installation of
SMART is simple and straightforward. If
a previous version of SMART had been installed before, please uninstall the previous version first.
2.1.1 Installation
Procedure
a. Unzip and
double click the setup file
b. The
installation wizard (Figure 2.1) is displayed. Click on the “Next” button
c. Read the
License Agreement. If you agree, click
the “Next” button (Figure 2.2)
d. Select
Destination or Installation Folder. IMPORTANT:
SMART needs Write access to the
Destination
folder (Figure 2.3) and the user must login into a Windows account with Administrator
rights
e. Click on
the “Next” button to start the installation process (Figure 2.4)
f. When the
installation is completed, click on the “Finish” button (Figure 2.5)
g. Double
click on the SMART icon on the Desktop to launch the application
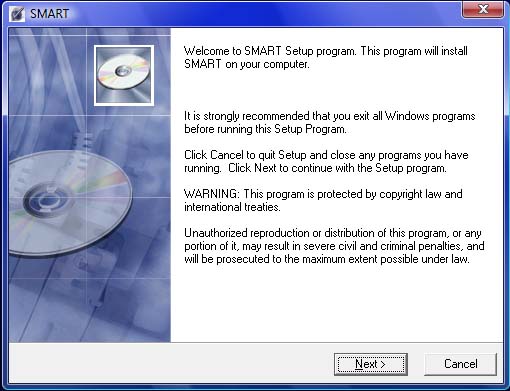
Figure 2.1: SMART Installation –
Step 1
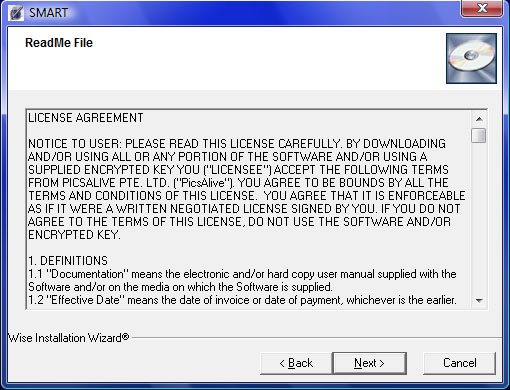
Figure 2.2: SMART Installation –
Step 2 License Agreement
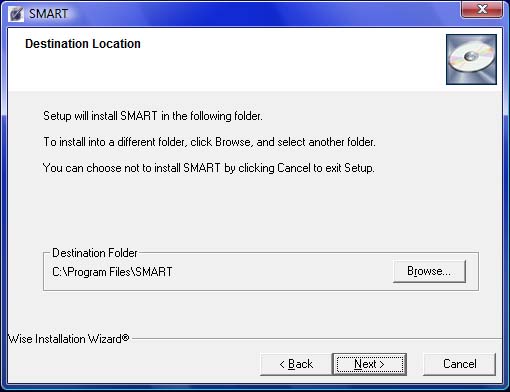
Figure 2.3: SMART Installation –
Step 3 Select Installation Folder
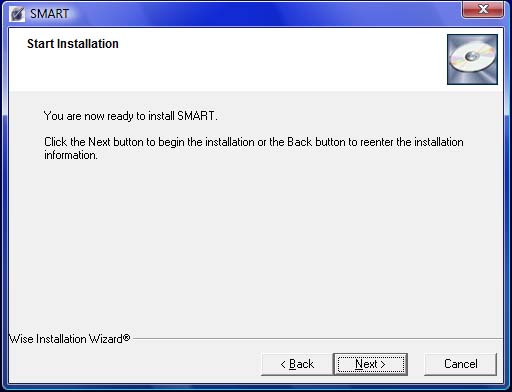
Figure 2.4: SMART Installation –
Step 4 Confirmation to Install
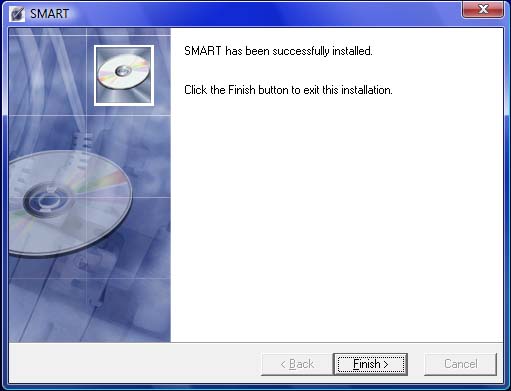
Figure 2.5: SMART Installation –
Step 5 End of Installation
2.2 Activation
A license must
be purchased before activating SMART.
The registered name and email must be used in the activation of SMART. An email will be sent to the registered user
after each activation.
2.2.1 SMART Activation
a. Start up SMART by double clicking on the SMART
icon.
b. In the Help Menu, click on the “Activation…”
button
c. A license agreement dialog box is displayed.
View the license agreement. And if you agree, click on the “I agree” button
d. The activation dialog box (Figure 2.6) is
displayed. Select and copy the 32-digit Installation Code
(B6ED-3444-09CE-44FD-A64C-FB6F-E059-B6E6)
e. Go to http://www.picsalive.com/SMART/Activate as shown in Figure 2.7
f. Enter the
registered name and email into the website
g. Enter the 32-digit Installation Code (e.g.
B6ED-3444-09CE-44FD-A64C-FB6F-E059-B6E6)
h. Click on the Generate button
i. If successful, the activation code be displayed
and an email sent
j. Copy the activation code in Figure 2.7 and paste
it into the Activation Code field in Figure 2.6)
k. Click on the ‘OK’ button in Figure 2.6
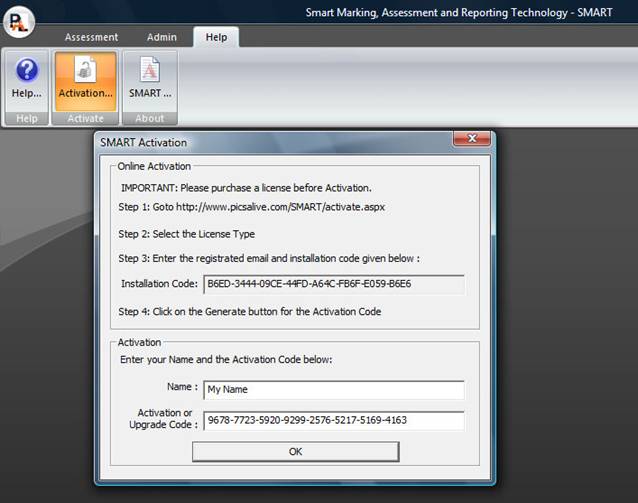
Figure 2.6: Activation of SMART
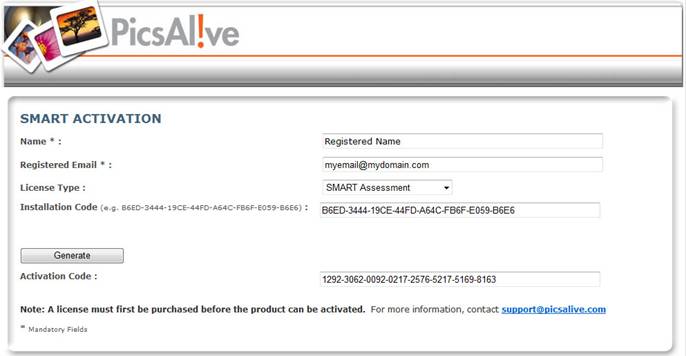
Figure 2.7: Online Generation of
Activation Code (www.picsalive.com/SMART/Activate)
2.3 UnInstallation
a. Click on the Windows Start Button and select
Control Panel
b. Double click on the Add or Remove Programs Icon
c. Select SMART from the list of Programs. Click on the Change/Remove button
d. Click on the Yes button to confirm removal of SMART
2.4 System Requirements
·
Pentium® III
or 4 processor
·
Microsoft®
Windows® XP and above
·
512 MB RAM
memory (2 GB Recommended)
·
High Colour
(16 bit) display colours setting (True Colour Recommended)
·
1024x768
display resolution
2.5 Customer Support
If you have any
questions or experience any difficulties in SMART, please contact us at support@picsalive.com
and we will respond promptly.